Flavors in Flutter

In this blog, we will be looking at how to implement Flavors in Flutter and configure Flavors in Android and iOS :). So let’s get started 🚀.
What are Flavors?
Flavors are basically creating an application with different types of environments.
Why Flavors?
Let’s assume a project is integrated with analytics. An app goes into different development stages before deployment. If we use the same analytics for all stages of development, we cannot differentiate how many end users are using our application. So to avoid this, Flavors come into the picture. Using Flavors you can create a different environments with different appName, appId, and app icons with a single codebase.
Flavor Configuration in Flutter
Create a new Flutter Project and create files and follow this Folder structure.

Adding code
Add Flavor enum and add all the stages.

In app.dart file

In main_<flavor>.dart run MyApp and pass the respective flavors


Configuration in VSCode launch.json
If you are using VSCode for development then you need to create launch.json file and add the below code in launch.json file
When you run the app you might get an error like so. This is because you need to configure Flavor in Android as well as in iOS.


Flavor Configuration in Android
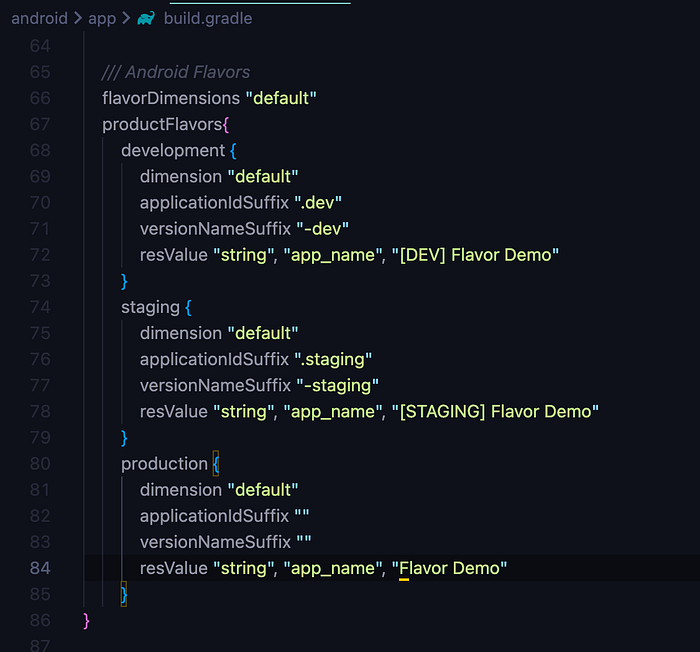
Configuration in build.gradle
applicationIdSuffix “.dev” will add .dev at the end of an existing appId based on the flavors. example, com.example.flavor_demo to com.example.flavor_demo.dev this .dev depends on the environment.
resValue is added basically for different app names in different environments.
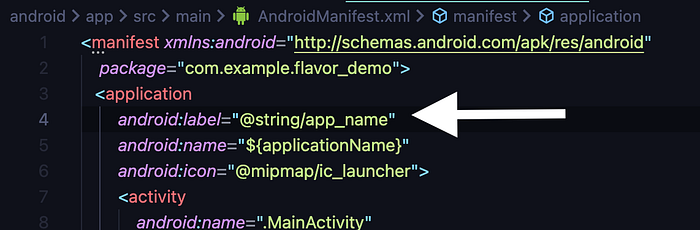
Change android:label value to “@string/app_name” , so that the app name will be dynamic based on a different flavors.
Flavor Configuration in iOS
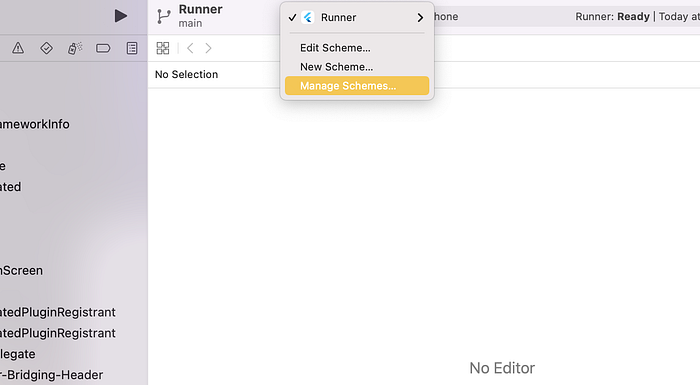
Open Runner.xcworkspace, which will be under the iOS directory.
Click on Manage Schemes.
Add all the different flavors.


Under Deployment Target, add all different flavors for Debug, Profile, and Release.

Open Manage Schemas and change the build configuration for all different flavors.


Search for Bundle Identifier and change the Bundle ID for Debug, Profile, and Release respective to the different flavor.


Now Add APP_DISPLAY_NAME in User-Defined Setting, this is because to change the app name based on different environments.


In Info.plist change Bundle display name value to $(APP_DISPLAY_NAME).

App Icons Configuration based on different Flavor
Add flutter_launcher_icons package in dev_dependencies and create flutter_launcher_icons-<flavor>.yaml.


add these code in your flutter_launcher_icons-<flavor>.yaml.
Note: Here, I'm using the same icon for development and staging.

Now run the below command, it will automatically generate app_launcher_icon for android and iOS for different environments.
flutter pub run flutter_launcher_icons:main -f flutter_launcher_icons*
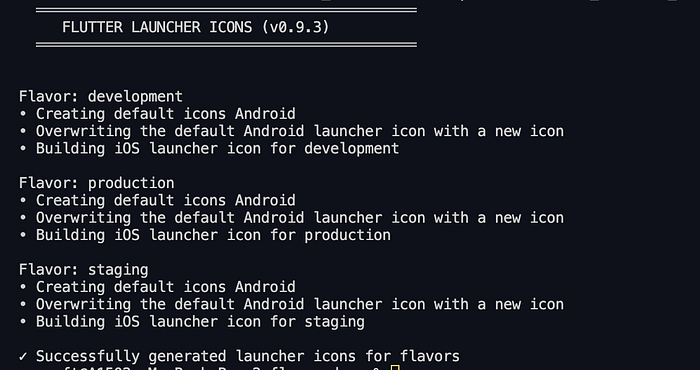
No configuration needs to do in android flutter_launcher_icon will handle everything.
Open Runner.xcworkspace and change the App Icon name.


Here we go, now let’s run the app in different ENV.

Final Outputs in Android and iOS.


You can check out the whole project on my GitHub.
Hurrah! and we are done with the Flavors in Flutter.
Do you know you can press the clap👏 button 50 times? The higher you go, the more it motivates me to write more stuff for you guys!
Hello, I am Agnel Selvan. A noob developer. You can find me on Linkedin or stalk me on GitHub.